![21 Best Free Driver Updater Software For Windows 10/8/7 [Latest 2022]](https://wpcontent.innovanatechlabs.com/blog_innovanatechlabs/wp-content/uploads/2021/07/28133532/Best-driver-updater1-1-830x420.jpg)


![21 Best Free Driver Updater Software For Windows 10/8/7 [Latest 2022]](https://wpcontent.innovanatechlabs.com/blog_innovanatechlabs/wp-content/uploads/2021/07/28133532/Best-driver-updater1-1-65x65.jpg)


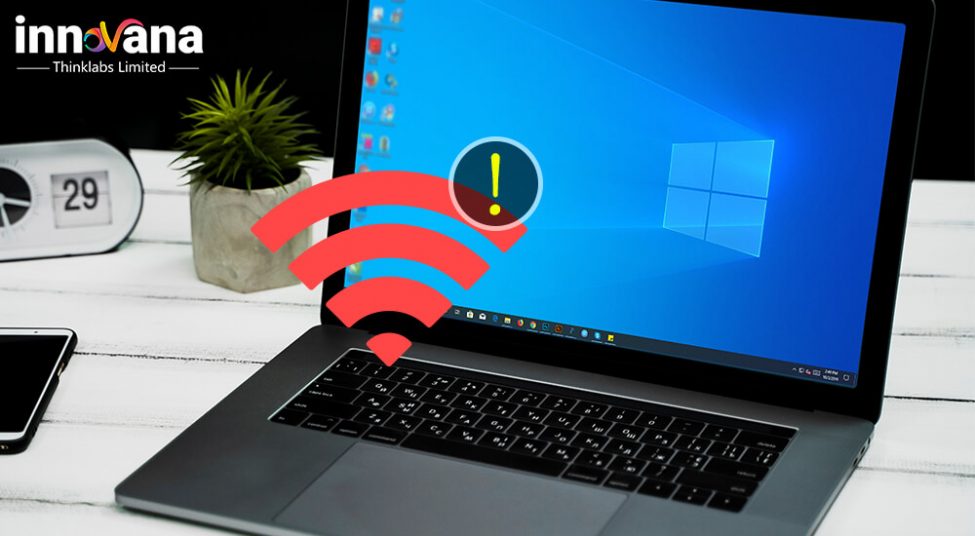
The wireless network has become more critical in our daily lives, but can you imagine this: one day you connect to your WiFi as usual, but your WiFi is not working anymore, and you lose access to the Internet. Isn’t it a horrible thing?
The WiFi not working issue includes: WiFi connection failed or WiFi not showing up. Sometimes it’s difficult to locate the cause. However, you can easily fix WiFi not working without paying much time and patience! Try the fixes in this article and solve your problem step by step!
Wi-Fi issues are some of the most frustrating you can encounter. Given that so much of modern computing relies on a web connection, being cut off from the internet can bring your productivity to a screeching halt.
Keep reading to learn how to fix 10 of the most common Wi-Fi problems on Windows 10.
Table of Contents
show
How to fix Wifi not working issue?
These are the common Wifi problems and their respective fixes.
Problem 1: WiFi not connecting in Windows 10
While establishing a network connection, if you come across a message that reads,” Windows 10 can’t connect to this network”, then most probably your network adapter is to blame. The best solution for this Windows 10 Wifi problem is to uninstall the network adapter driver and reinstall it again. To do so, follow these steps:
Step 1: Open Device Manager.
Step 2: Find your network adapter and right-click on it.
Step 3: Click Uninstall.
After that, restart your device. Windows will automatically reinstall the driver.
Problem 2: Wifi connected but no internet
Try the following fixes when your Wifi is connected but there’s no internet access.
Change your DNS server address
The most common reason for this issue is the misconfiguration of DNS servers settings or unstable network connection. In either case, the DNS server address needs to be changed to fix the problem.
Step 1: Press the Windows key and R at the same time to invoke the Run command.
Step 2: Type control /name Microsoft.NetworkAndSharingCenter into the box and click OK.
Step 3: Select Change adapter settings.
Step 4: Go to Wi-fi and right-click on it. Select Properties.
Step 5: Select Internet Protocol Version 4 (TCP/IPv4) and then click Properties.
Step 6: Click Use the following DNS server address, for Preferred DNS server, enter 8.8.8.8; for Alternate DNS server, enter 8.8.4.4.
Step 7: Finally, click OK.
Now just check your network and it will be working fine.
Disable Fast Startup
Windows 10’s feature and function Fast Startup pushes the computer to restart faster. But it also leads to interference in the shutdown and restart process, hence the connection to Wifi but no Internet problem. To combat this problem, follow these steps:
Step 1: Press the Windows key and R together to invoke the Run command.
Step 2: Type powercfg.cpl into the box and click OK.
Step 3: On the left-hand side, click on “Choose what the power buttons do.”
Step 4: Now, click on “Change settings that are currently unavailable.”
Step 5: Do make sure that the box next to “Turn on fast startup (Recommended)” is unchecked. Click to Save the changes and then you can close the window.
Step 6: Further, restart your computer and check for Internet access.
Update your Wi-Fi driver
You need to update your WiFi driver to get the most efficient results. But how? Follow this article to the end to get all your answers.
Problem 3: Windows 10 Keeps Dropping the Wi-Fi Connection
Many people complain about this wifi problem. In this, Windows 10 doesn’t support the Wifi connection and hence keeps dropping it.
The reason for this could be the power management settings of your network adapter (only if the router has no issues, that is).
This could be resolved by revoking the permission which allows Windows to turn off the adapter to save power. Follow the steps to do so:
Step 1: Right-click on Start and select Device Manager.
Step 2: Find the category Network Adapters and expand the list below it.
Step 3: Look for your Network Adapter and right-click on it.
Step 4: Choose Properties.
Step 5: Go to the Power Management tab and unmark the checkbox next to “Allow the computer to turn off this device to save power.”
Problem 4: Wifi is not working on Windows 10 PC or Laptop
Method 1: Enable WiFi service to fix WiFi not working
The occurrence of this problem is related to Wifi service being disabled by Windows. That’s why you need to check the WiFi settings on your Windows 10.
While you are following these steps, make sure that you are within the Wifi network range.
Step 1: Go to the Internet icon and right-click on it. Select Open Network and Sharing Center.
Step 2: Click on Change adapter settings.
Step 3: Then, right-click on WiFi or Wireless Network Connection. Click Enable.
Step 4: Restart your computer and connect to your WiFi again.
Method 2: Disable the Windows Firewall
Your Windows 10 is protected from network attacks because of Windows Firewall. But it could also be the reason for your WiFi connectivity problem.
To stop that, you can try to temporarily disable Windows Firewall.
Step 1: Press the Windows key and R simultaneously to invoke the Run command.
Step 2: Type firewall.cpl in the box and click OK.
Step 3: Click Turn Windows Firewall on or off on the left pane.
Step 4: Select Turn off Windows Firewall (not recommended) in all three columns, then click OK.
Step 5: Try to connect to your WiFi again.
If the problem still persists, then Windows Firewall might not be the root of the cause. And in that case, you need to turn Windows Firewall back on to safeguard your Windows 10 computer.
If the problem is solved, then the Windows Firewall was the reason. After knowing this, you can allow your WiFi through Windows Firewall.
Step 1: Go to the Windows Firewall window again and click on “Turn Windows Firewall on or off” on the left-hand side.
Step 2: Select “Turn on Windows Firewall” in all three columns, and save it by clicking OK.
Step 3: Back to the Windows Firewall window, click Allow an app or feature through Windows Firewall.
Step 4: Scroll down and select the feature that runs your WiFi, and check the three boxes under Domain, Private and Public.
Step 5: Click OK to save the settings, and try to connect to your WiFi again to see if it works.
Method 3: Update your WiFi network driver
Almost all of these Wifi problems can be easily solved by doing just one thing: updating the Wifi network driver.
A network or Wifi device driver is a device driver that allows seamless communication between the operating system and computer as well as with other network devices.
Connection problems could be caused because of an old or incompatible Wifi driver.
- Automatically (recommended):
You can very easily update your Wifi network driver hassle-free, without wasting your time with a dedicated tool. You can get Bit Driver Updater that finds the correct driver for your tablet, and your variant of Windows 10, and installs them on your system.
Bit Driver Updater efficiently and smartly scans your new Windows 10 system for any missing, broken, or outdated drivers that are causing the Wacom Tablet error. And then, goes on to repairing them for better functioning of your system’s performance. You can easily download all the outdated drivers with Bit Driver Updater for FREE.

- Manually:
Firstly, after uninstalling the driver, let Windows find a new driver for your network adapter. If it isn’t able to, then you can move onto another method.
Go to the PC manufacturer’s website and search for the latest network driver. After finding one, you have to download it on your system.
But since you’re facing network issues, it’d be better to opt for another PC, downloading the network driver, and saving it to a USB flash drive. And from there, you can manually install it on your PC.
I have read so many articles or reviews on the topic of the blogger lovers but this article is actually a nice paragraph, keep it up.